
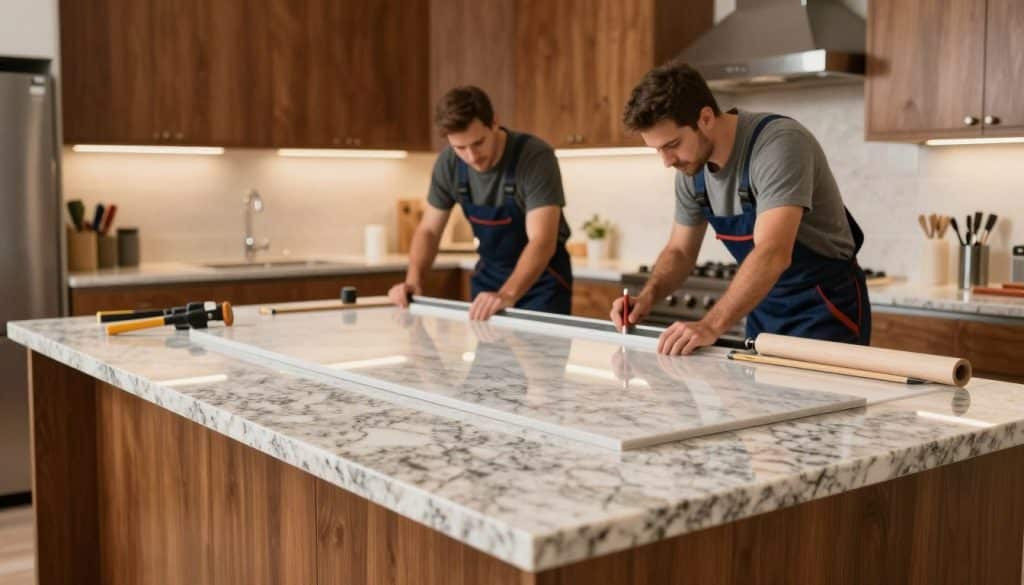
Ready to transform your kitchen—and keep your stress level low? If you’re wondering how to install a countertop, can replacing heavy stone surfaces really be quick, clean, and worry-free in a busy home?
We answer that every day in Minneapolis. With 30+ years fabricating and installing granite, quartz, and other stone, we know where DIY makes sense and when you need a pro.
This short guide sets clear expectations: planning, prep, fitting, fastening, and finishing. We focus on real installation realities—tight walls, out-of-level cabinets, and tricky corners—so you won’t get surprised mid-project.
Our Craftmanship, Your Vision—we offer free estimates, fast turnaround, and prompt, professional service. Typical lead time from measuring through installation runs about 5–10 business days, and many kitchens go in within a few hours once templating is done.
Want pros to handle measuring and install? Call (612) 270-4239 or email info@rocksolidtops.com for a free estimate and a stress-free plan.
Key Takeaways
- Stone surfaces are heavy; precision matters for a great final look.
- We explain when DIY works and when professional help is safer.
- Expect planning, prep, fitting, fastening, and finishing steps.
- Typical lead time: about 5–10 business days from measure to install.
- Rock Solid Tops serves Minneapolis, MN with fast, reliable service.
Plan Your Countertop Installation for a Smooth, Fast Upgrade
Smart prep keeps your project fast and low-stress. Start by clearing the work space and removing items from drawers and surfaces. Protect floors and nearby finishes with drop cloths and masking tape so there’s no damage.
Keep kids and pets out of the area. Heavy tops, power tools, and adhesives are hazards in busy homes. Clear driveways, hallways, and doorways so installers can bring pieces in quickly.
Measure and sketch each run
Use a tape measure and make a simple sketch for every run. Label measurements, mark overhangs (about 3/4″), and leave an extra 1″ into the range opening for later trimming. Double-check tape measure reads before any cutting.
Scribe for uneven walls and perfect fit
Read the wall line and plan scribe marks where walls aren’t straight. Fit adjustments are normal in older Minneapolis, MN homes. We can come out to help with design and planning, so your installation stays smooth and stress-free.
- Clear surfaces and cabinets for faster work.
- Protect finishes with drop cloths and tape.
- Sketch runs, measure carefully, and expect final fit tweaks.
Choose the Right Countertop Material for Your Kitchen or Bath
Choosing the right surface shapes your kitchen’s look and daily flow. We’ll help you weigh practical needs against style so you pick with confidence. Our Craftmanship, Your Vision.
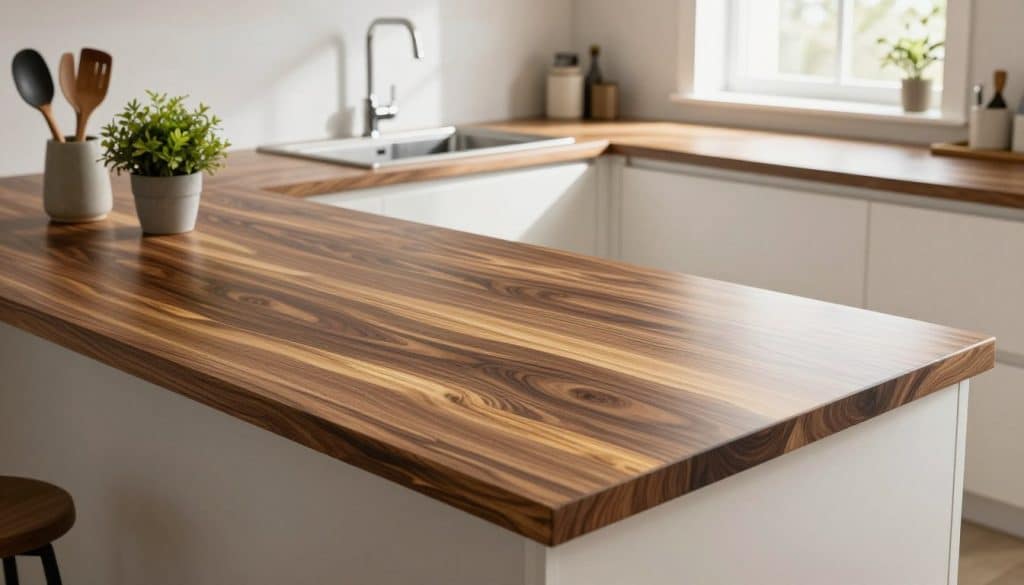
Laminate countertops are budget-friendly and DIY-friendly. They come in many colors and finishes, handle daily wear well, and are lighter than stone. That makes them easier for homeowners who want quick upgrades or wood-look designs.
Stone options: granite and quartz
Granite and quartz offer long-term value and extreme durability. They’re heavy—a single slab can top 250 lbs—so professional handling and precise fabrication matter. With 30+ years fabricating stone, we guide selection and on-site fitting.
Design details that matter
Edge profiles, corner radii, and backsplash choices influence water protection and daily use. Decide edges and corners before fabrication. Integrated backsplashes give cleaner seams; end treatments affect moisture resistance.
- We bring samples and walk you through pros and cons on-site.
- Material affects cleaning, workflow, and repair risk around sinks and wet zones.
- We align your material choice with timeline and budget.
Tools, Materials, and Hardware You’ll Need Before You Start
Gathering the right kit before you begin saves time and prevents mistakes. Pack core items so you don’t pause mid-job: a drill, a jigsaw, a straightedge, masking tape, a tape measure, and a caulk gun.
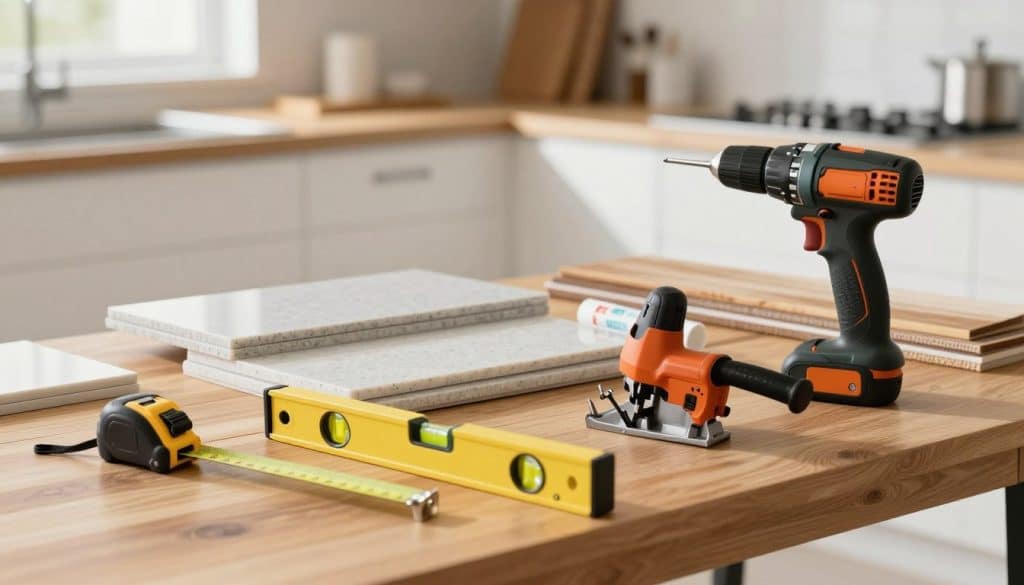
Specialty items make the fit look professional. A belt sander with an 80-grit belt smooths seams quickly. A scribing tool helps match uneven walls. A 10″ mill file or half-round file cleans up end caps and prevents peeling.
- Adhesives and sealants: silicone for wet zones, paintable acrylic caulk for trim and backsplash.
- Hardware: screws, miter bolts for seams, 1-1/2″ steel angles for overhang support, and 3/4″ build-up strips for proper top thickness.
- End treatments: iron-on or contact-applied laminate caps, filed and sanded for a clean edge.
We keep safety front and center. Wear eye protection and lift with help—stone and heavy materials are unforgiving. If buying specialty tools for one job doesn’t make sense, we can measure, fabricate, and handle the whole process quickly and cleanly for you.
Get Cabinets Ready: Level, Secure, and Build a Solid Base
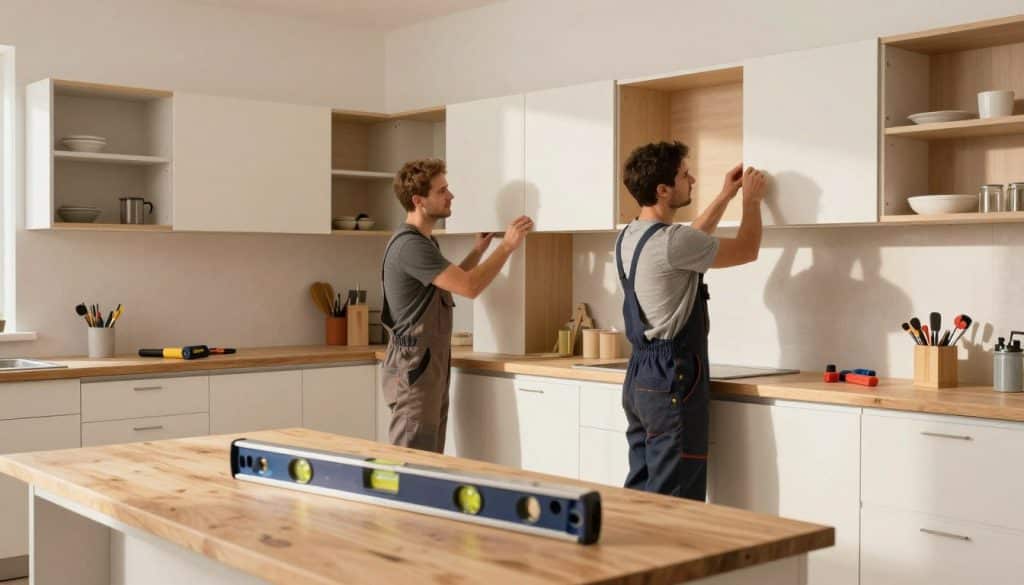
A stable base makes every top last longer and look better. That starts with cabinets that sit true and hold steady. Industry standard calls for cabinets within about a quarter-inch level across each run. When the base is flat, the finished surface fits tight and stays durable.
Why tight tolerances matter
Uneven cabinets cause seams to misalign and create stress points that can crack stone or show visible gaps along the wall line. Water can pool at low spots and worsen damage over time. We check level across the front and along each run for precise fit.
Shims, anchors, and build-up strips
Use wood or plastic shims under cabinet bases to remove wobble and get a flat surface. Unscrew and re-anchor cabinets where needed, then add screws through strong framing into studs so nothing shifts under weight.
- Check level: across each cabinet run and the front line.
- Support strips: build-up strips give consistent support near spans and cutouts.
- Fastening: use proper screws and wall anchors to lock the base in place.
Preparing cabinets right is non-negotiable. We’ll assess support needs and advise on overhang strips and anchoring during a free estimate in Minneapolis and nearby areas. Rock Solid Tops handles the base work so your installation goes on fast and stays rock solid.
How to Install a Countertop Without Gaps, Damage, or Wobbles
A precise dry fit prevents surprises and keeps the job moving quickly. We lay out the core install steps in the order that stops problems: dry fit first, adjust second, fasten third, seal last.
Dry fit and check the fit
Set each top in place and check the wall line, cabinet alignment, and range opening. Look for gaps, lippage, or tight spots that need trimming.
Scribe, trim, and make seams vanish
We scribe where walls wave and trim for tight-to-the-wall results. For multi-piece countertops, we select seam locations, clamp miter joins, and use color-matched adhesive for near-invisible seams.
Fasten, protect edges, and finish
Secure pieces with brackets, strips, and epoxy so nothing wiggles or squeaks. Finish corners and end caps cleanly, ease sharp edges, and seal vulnerable ends against moisture to prevent long-term damage.
- Dry fit, adjust, fasten, seal — the reliable step order.
- Clamps and miter alignment prevent gaps and chips.
- Keep the jobsite clear and avoid other trades during installation.
Rock Solid Tops crews are prompt and professional. We deliver fast, tight results with decades of craftsmanship and care.
Sink, Faucet, and Cooktop Cutouts, Sealing, and Finishing Touches
Final fit work brings the project home: sink openings, faucet holes, and cooktop edges get refined on site for a perfect result. We pre-cut most openings in the shop, then fine-tune at your kitchen for tight fits and clean lines.
Sink mounting basics: undermount sinks usually use metal clips and epoxy beneath the surface for secure support. We check bracket placement and note that plumbing reconnection often follows the step when fixtures are set—plan a plumber after the set day if needed.
Sealing: silicone vs paintable caulk
Use silicone where water makes direct contact. Use paintable caulk at the backsplash for a neat, paint-ready seam. This simple rule prevents water damage and keeps the top and cabinets protected.
Final clean-up and inspection: we wipe surfaces, check seams and sink stability, and walk through the space with you. For granite, we recommend sealing when indicated so the stone resists stains and stands up to daily water exposure.
- We refine cutouts on site for perfect fit and function.
- Undermount sinks get clip support and adhesive for long-term hold.
- Silicone in wet-contact zones; paintable caulk at the backsplash.
- Final clean-up, walkthrough, and sealing protect against damage.
Conclusion
Finish strong: smart planning makes your project feel easy and last.
Great countertops start with clear plans, accurate measuring, and cabinets level within about 1/4″. Dry fit first, scribe at the wall, seal wet areas, and pick the right material for your kitchen and home.
Our Craftmanship, Your Vision. With 30+ years serving Minneapolis, MN and the Twin Cities area, we handle residential and commercial jobs fast. Typical turnaround is 5–10 business days, and many installs take just hours once fabricated.
Want pros to install countertops without heavy lifting or risk? Call (612) 270-4239 or email info@rocksolidtops.com for a free estimate. We serve Minneapolis & St Paul and locations within about an hour of the Twin Cities.